Nicole Knit-Look Crochet Poncho Pattern
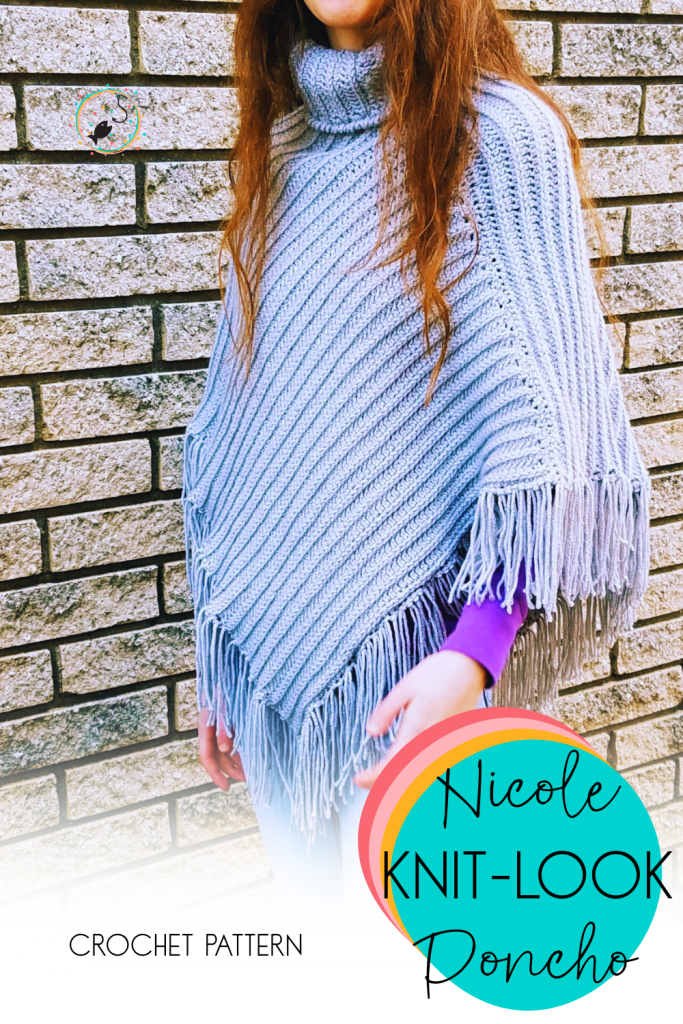
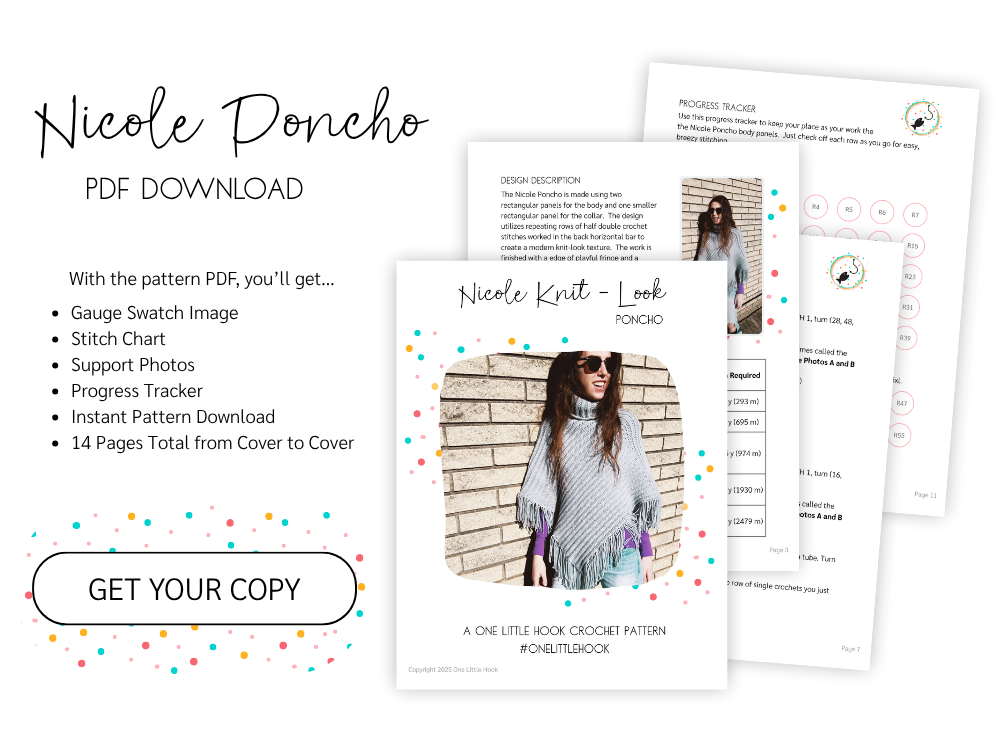
Hi Makers! I’m so excited to share the Nicole Knit-Look Crochet Poncho Pattern with you today! As the weather starts to cool, I’m reminded of just how cozy and stylish a good poncho can be. The Nicole Poncho came about from a fun challenge in a crochet Facebook group. The challenge was to create a design that looks like it’s made with knit stitches, but only using crochet. After a bit of experimentation with my hook and yarn, the Nicole Poncho came to life with a beautifully textured, faux rib-knit look that I absolutely adore. It’s available in 5 sizes from child to adult so you can make one for yourself or match with your minis. Read more for all of the details and the pattern!
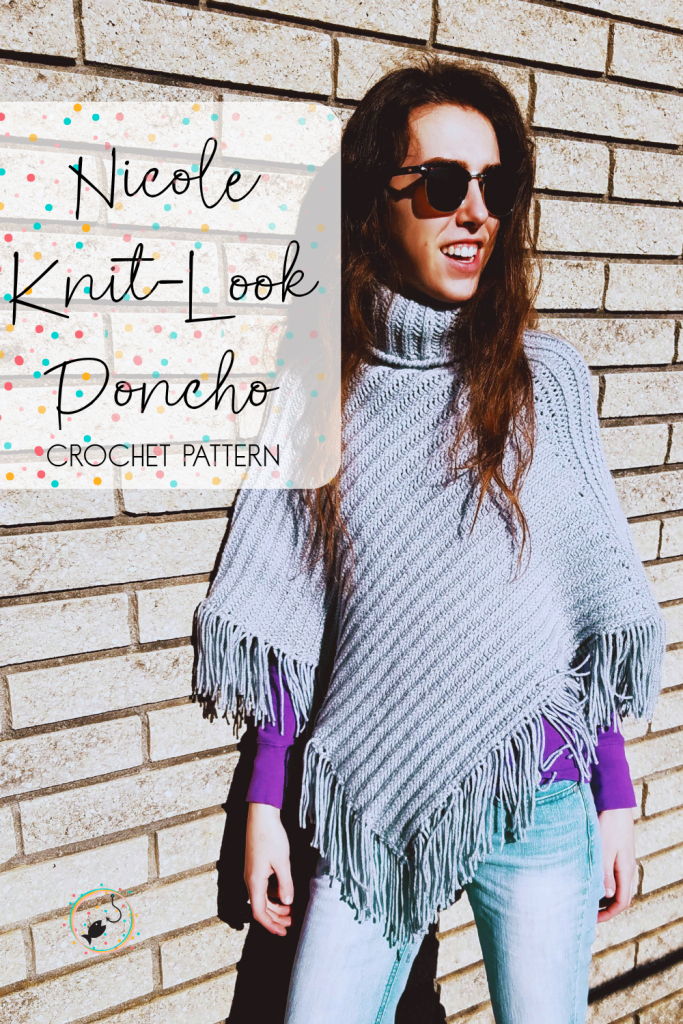
The free pattern is available below because I believe crochet should be accessible. The premium PDF is there for makers who want a printable, ad-free version, and would like to utilize stitch charts, gauge images, support photos, and progress trackers.
This post may contain affiliate links and I may earn a small commission when you click on the links at no additional cost to you. I will only link to products that I know and love. See my full disclosure here.

Knit-Look Crochet Poncho Pattern
Design Description – The Nicole Poncho is made using two rectangular panels for the body and one smaller rectangular panel for the collar. The design utilizes repeating rows of half double crochet stitches worked in the back horizontal bar to create a modern knit-look texture. The work is finished with a edge of playful fringe and a folded turtleneck style collar. Not a fan of turtlenecks? No problem, simply omit it and you’ll still have a cozy and cute poncho to keep the cold at bay!
Difficulty Level – easy
Tools and Materials
- Size 4 yarn
- US size I-9 (5.5mm) crochet hook, or size needed to obtain gauge
- yarn needle
- scissors
- measuring tape
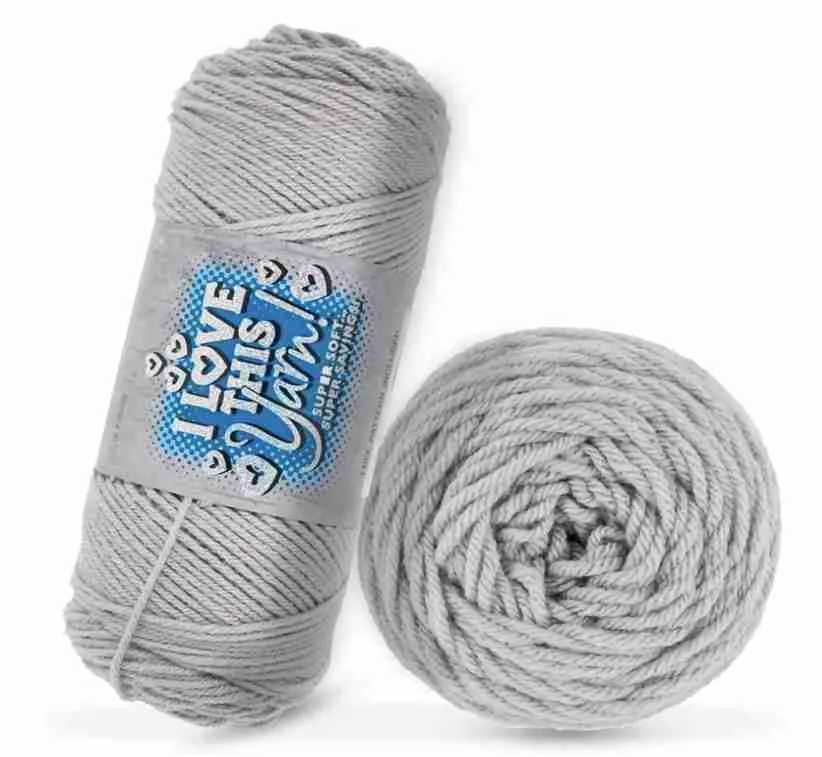
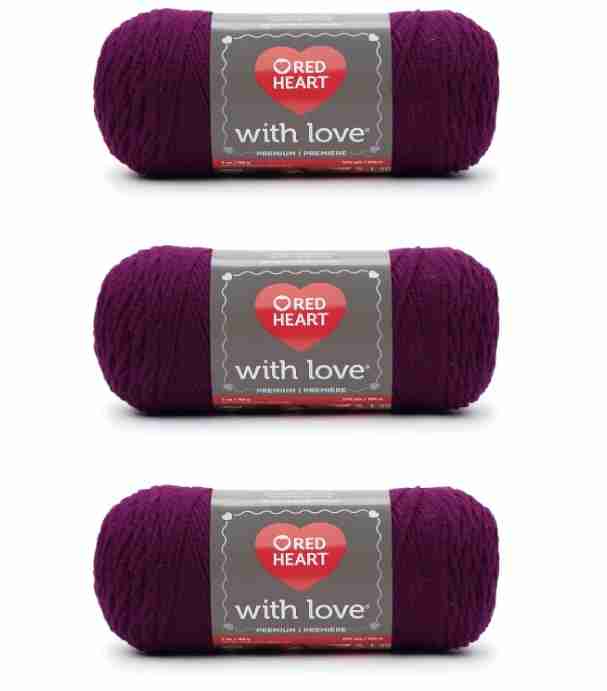
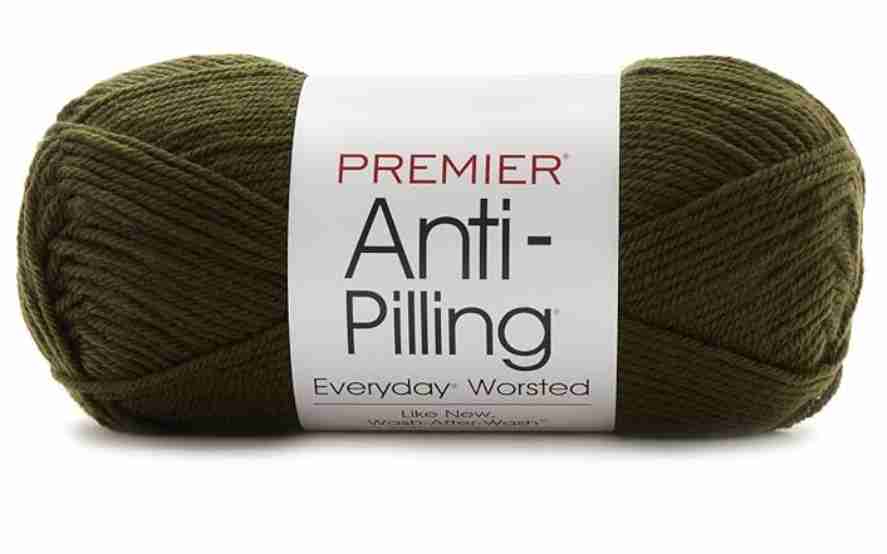
Yarn Substitutions – I get lots of questions about yarn alternatives, so I’ve gathered my go-to favorites here. They’re curated for quality, comfort, and value. Everything’s linked below, just click on the pic. These are affiliate links, thanks for supporting my tiny corner of the internet.
Crochet Abbreviations (US terms)
- CH – chain
- HDC – half double crochet
- revSC – reverse single crochet
- SC – single crochet
- SL ST – slip stitch
- sk – skip
- st/sts – stitch(es)
Special Stitches – revSC Instructions: Working left to right (in reverse), insert hook into previous stitch, yarn over and pull up a loop, yarn over and draw through both loops on hook.
Gauge, Finished Measurements, and Yarn Requirements
- 16 sts by 11 rows = 4 in (10 cm)
| Poncho Size | Panel Width | Panel Length | Collar Circumference | Yarn Required |
| Child 2-4 | 7 in (18 cm) | 14 in (36 cm) | 14 in (36 cm) | 320 y (293 m) |
| Child 6-10 | 12 in (30 cm) | 20 in (50 cm) | 16 in (41 cm) | 760 y (695 m) |
| Child 12-Women’s Small | 17 in (43 cm) | 26 in (66 cm) | 18 in (46 cm) | 1065 y (974 m) |
| Women’sM-XL | 21 in (53 cm) | 32 in (81 cm) | 22 in (56 cm) | 2110 y (1930 m) |
| Women’s 2XL-5XL | 24 in (61 cm) | 36 in (91 cm) | 24 in (61 cm) | 2710 y (2479 m) |
Pattern Notes
- End of row stitch counts are given in parenthesis ( ) followed by “sts”.
- Turning chains do not count as stitches.
- This pattern is written in 5 sizes as follows: Child 2-4 (Child 6-10, Child 12-Women’s Small, Women’s M-XL, Women’s 2xl-5xl).
- Since this stitch pattern is reversible either side can be considered the inside. However, whatever seaming method you choose to use to seam the panels together will affect which side will be considered the inside. This comes into play when attaching the collar.

Nicole Knit-Look Poncho Crochet Pattern
The Pattern
Body Panel (Make 2)
CH 29 (49, 69, 85, 97)
Row 1: HDC in 2nd CH from the hook, HDC in each st across, CH 1, turn (28, 48, 68, 84, 96 sts)
Row 2: HDC in 3rd loop of each st across (the 3rd loop – sometimes called the horizontal bar – will be facing you after you turn), CH 1 turn
Rows 3 – 39 (55, 72, 88, 99): repeat Row 2 (28, 48, 68, 84, 96 sts)
Fasten off and weave in all ends.
Collar
CH 17 (21, 25, 29, 33)
Row 1: HDC in the 2nd CH from the hook, HDC in each st across, CH 1, turn (16, 20, 24, 28, 32 sts)
Row 2: HDC in 3rd loop of each st across (the 3rd loop – sometimes called the horizontal bar – will be facing you after you turn), CH 1 turn
Rows 3 – 39 (44, 50, 61, 66): repeat Row 2 (16, 20, 24, 28, 32 sts)
Fold short ends together and SL ST across to seam closed forming a tube. Turn collar right side out, CH 1, SC around one edge.
Reverse single crochet (revSC) around (into the row of single crochets you just made).
Fasten off and weave in ends.
Poncho Seaming
Step 1: Lay the 2 poncho panels perpendicular to each other, one on top of the other so that the corner and edges line up to form a V-shape.
Step 2: Fold the panel on the bottom up and over to meet the edge of the panel on the top and seam together.
Step 3: Fold the panel on the top down and under to meet the edge of the panel on the bottom and seam together. Flip work over for easier seaming.
Collar Seaming
Seam the collar to the head hole opening on the poncho taking care to ensure the poncho and collar are seamed together with the correct sides out. I found that holding the poncho right side out and holding the collar folded down turtle neck style gave me a better visual of how to seam it. Maker Tip: Use stitch markers to hold the collar in place on the neck opening while seaming to prevent the fabric from stretching while seaming and bunching at the end of the seam.
Attaching Fringe
For each fringe, cut enough 4-inch to 8-inch lengths of yarn to go around the entire bottom edge of the poncho. Maker Tip: Use shorter fringe for smaller sized ponchos.
Hold a strand together folded in half to form a small loop at the fold. Use the crochet hook to pull the loop through the bottom edge of the poncho from the front side to the back side. Then, still using the hook, pull the fringe ends through the loop and pull on them to tighten. Add fringe all along the bottom edge of the poncho. Trim fringe to even, if needed.
Click HERE to purchase the PDF version of the Nicole Knit-Look Poncho pattern from Ravelry!
Thought you might like these patterns….

Follow me on your favorite social media channels!
Ravelry Store Julie at OneLittleHook
Pin the image below to save this project for later!